Setting Up Your Wallet
This guide will walk you through using blockchains on the Movement Network with our wallet. It covers everything from installing the wallet, connecting to the blockchain, acquiring testnet tokens from the faucet, and using the explorer.
Installing the Wallet
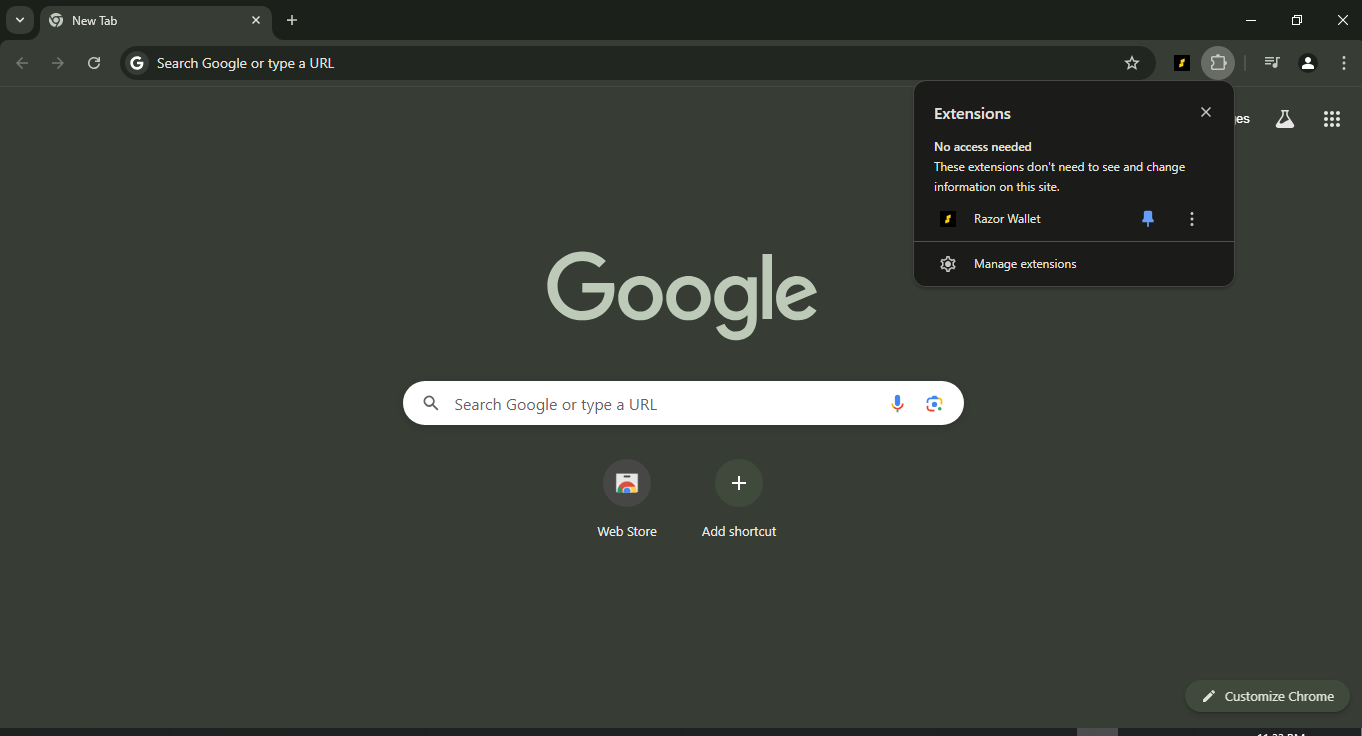
Our wallet is compatible with Chrome, Brave, Opera, Edge, and other Chromium-based browsers. You can install the Chrome extension for Razor by following this link or here.
Remember to pin the wallet extension in your browser’s top-right corner for easy access.
Wallet Setup
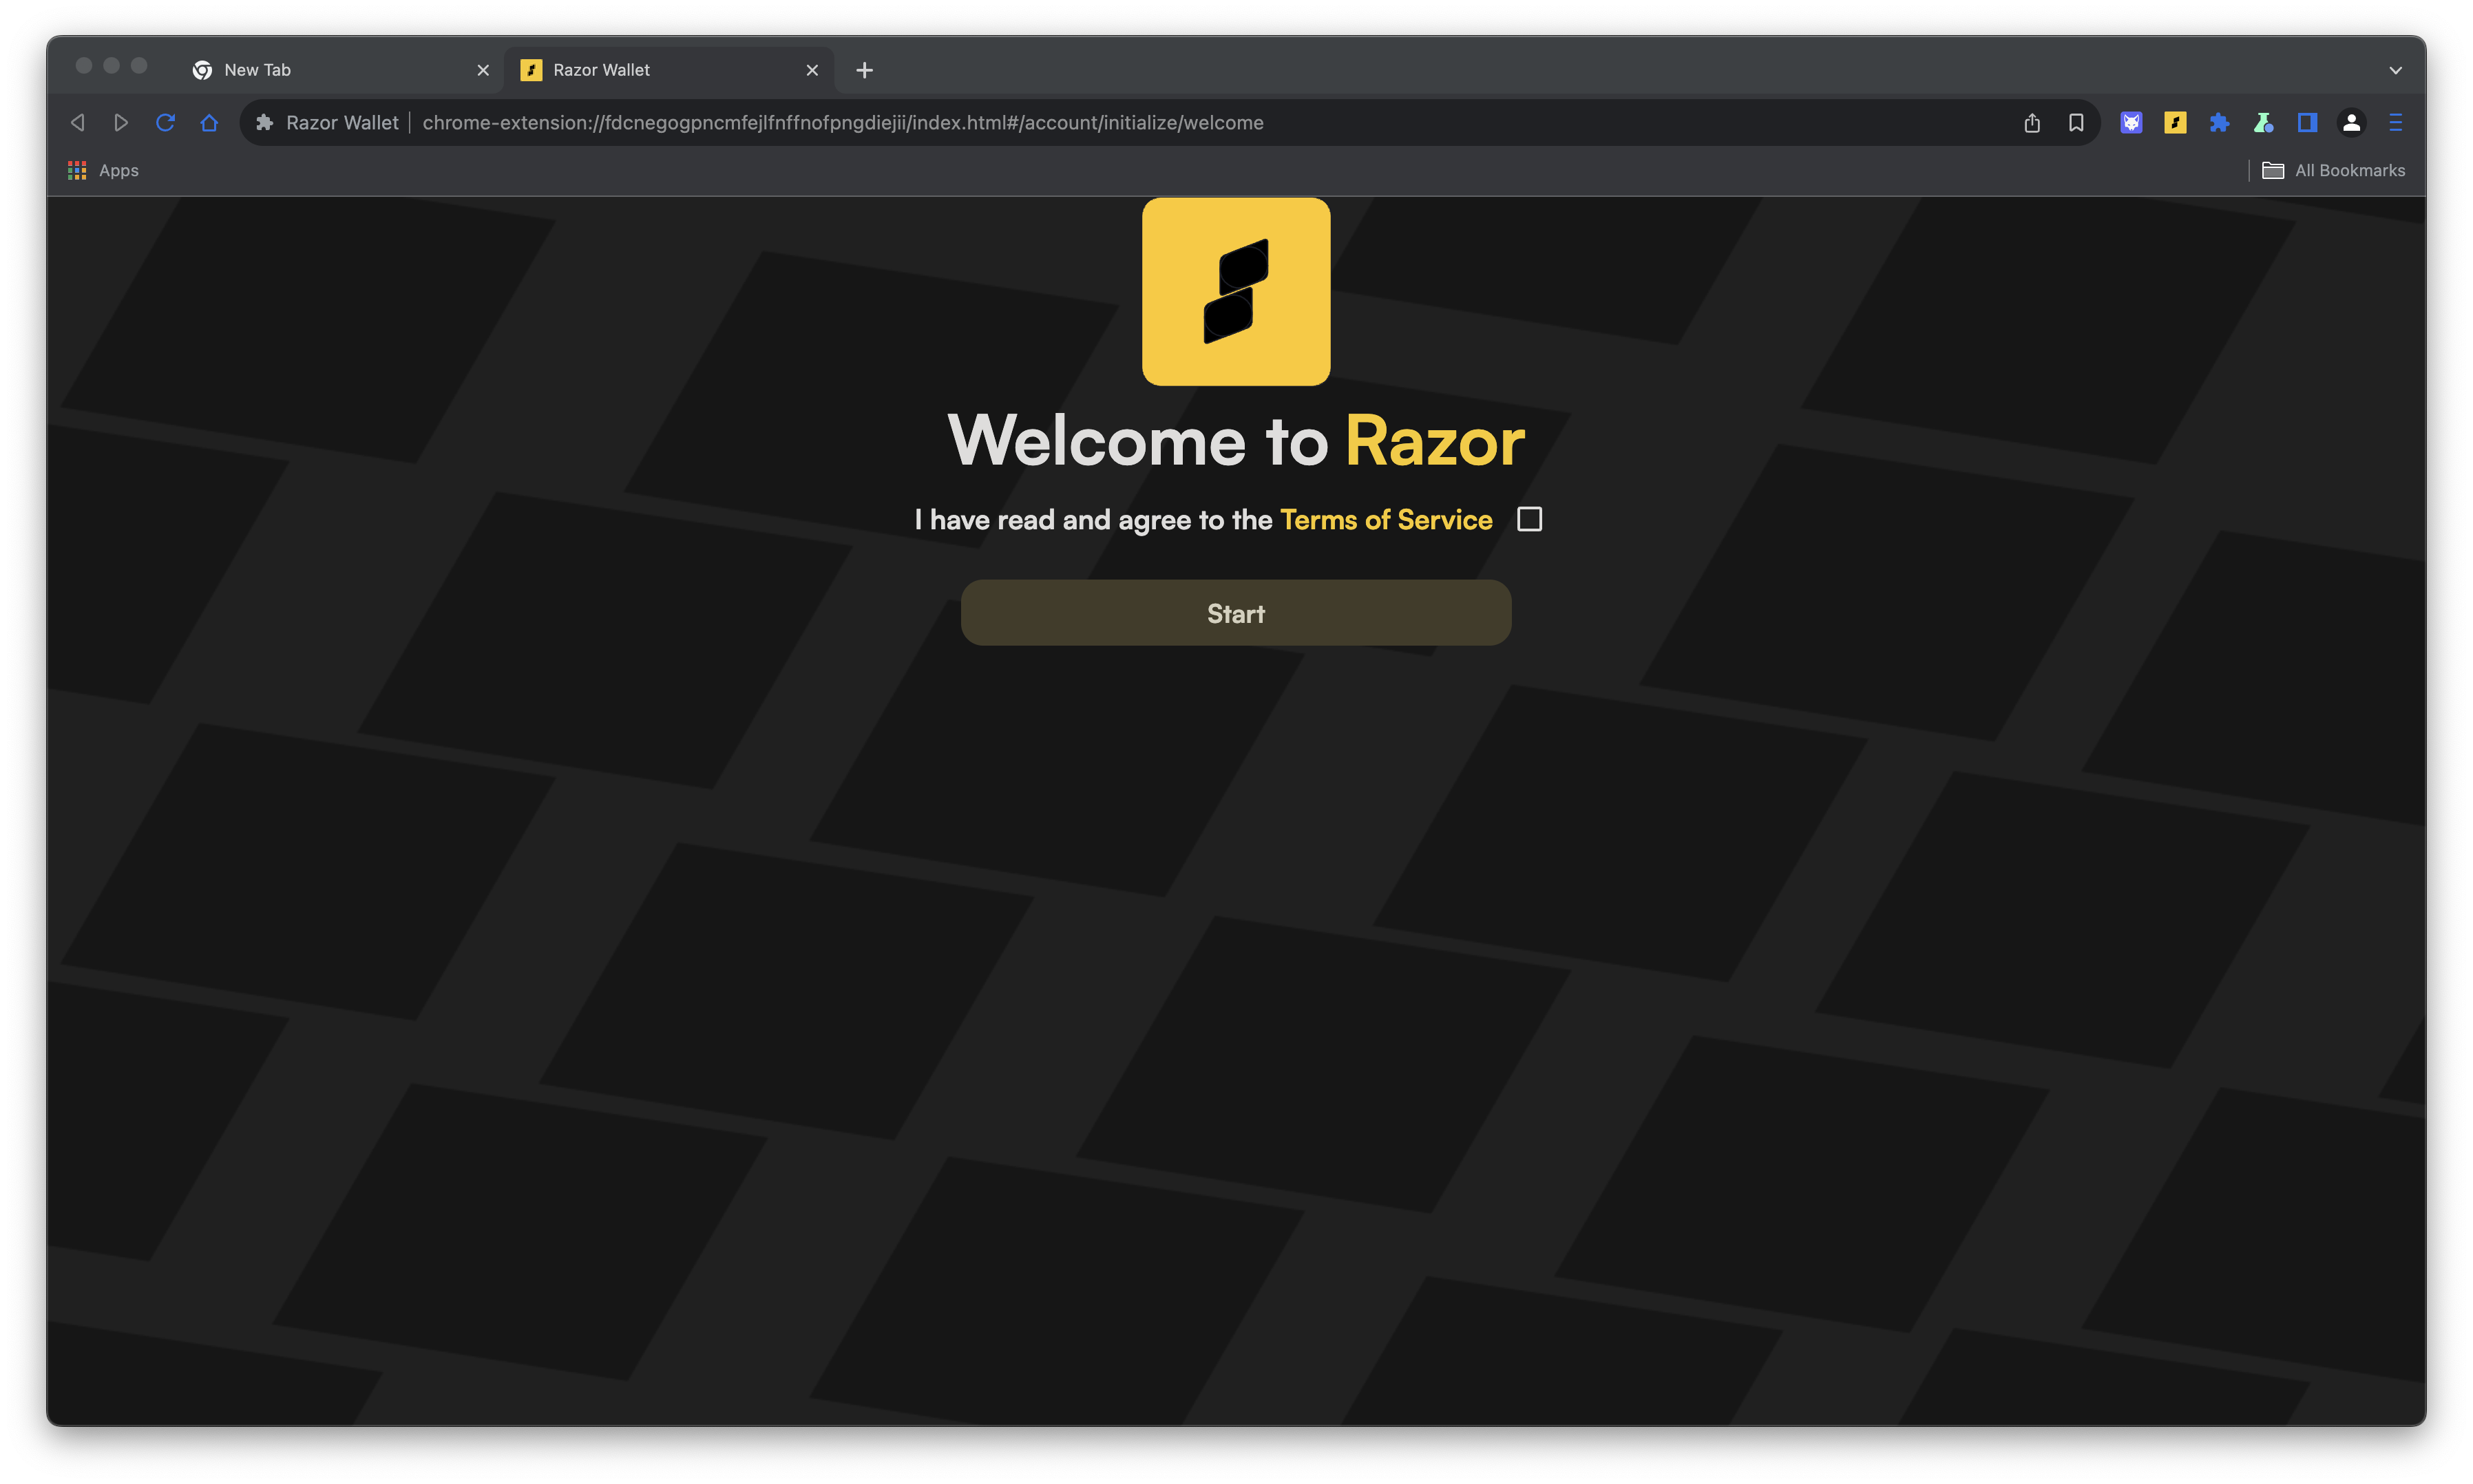
Step 1: Welcome to Razor Wallet- Open the Razor Wallet application or extension.
- You will see the welcome screen.
- Agree to the Terms of Service by checking the box.
- Click “Start.”
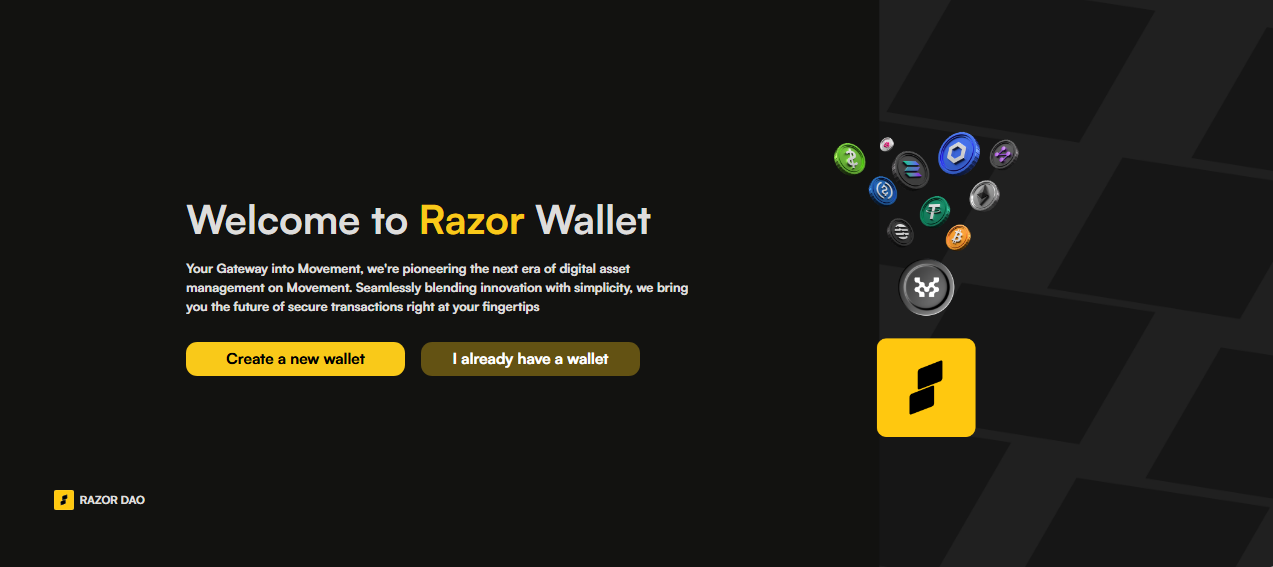
- You will be shown your Secret Recovery Phrase. Click “Create a new wallet.”
- Write down the 12-word phrase and store it securely. Keep it private.
- Click “I have saved my secret phrase” once you have noted it down.

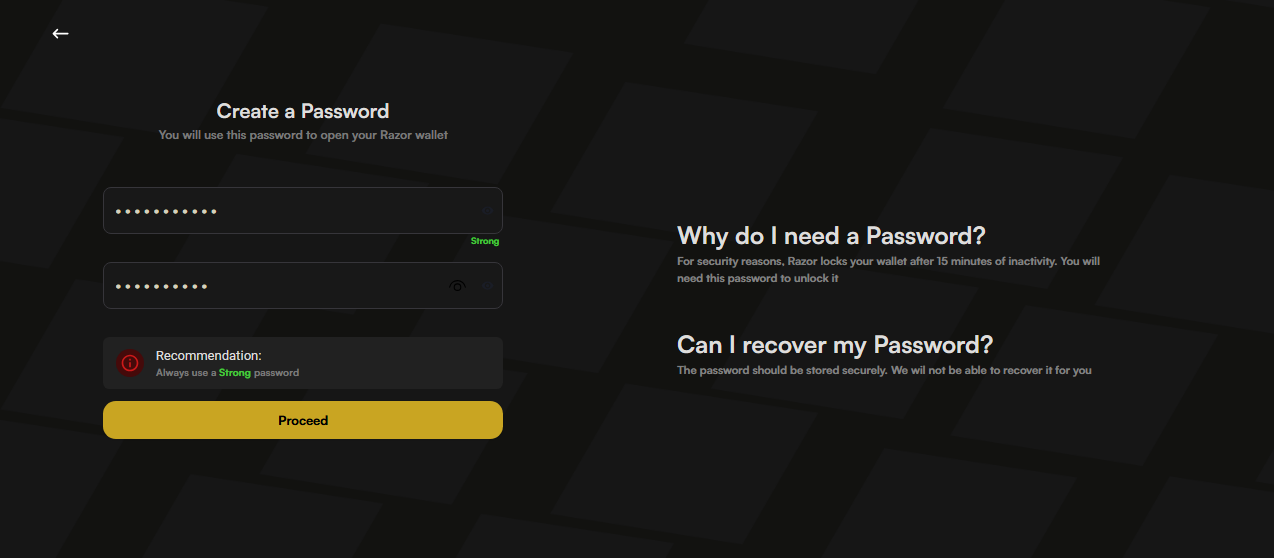
- Set up a password for your Razor Wallet.
- Enter a strong password and confirm it.
- Click “Proceed.”
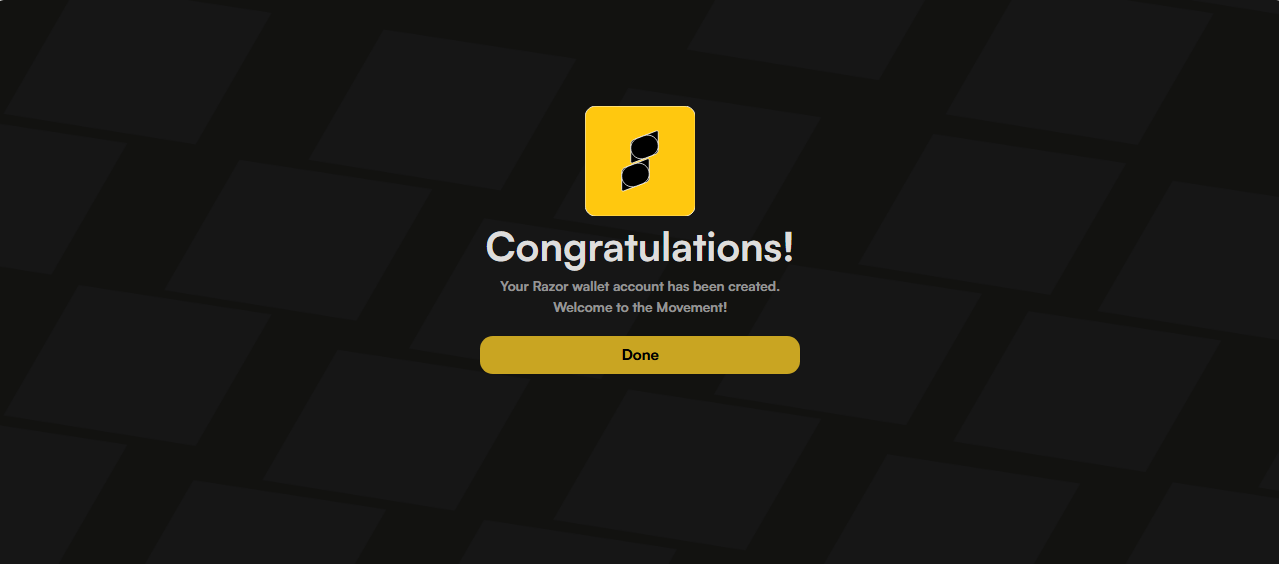
- After setting up your password, you will access the Razor Wallet dashboard when you open the extension.
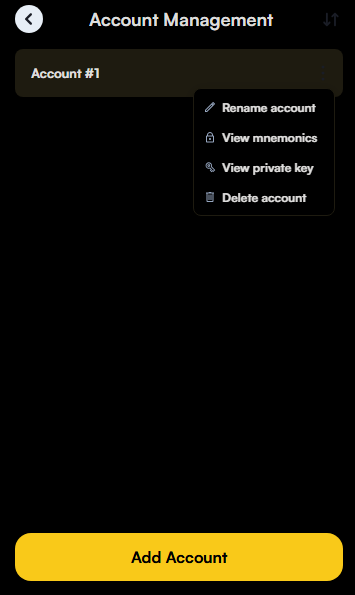
Importing an Account
To import an existing Razor account, follow these steps:
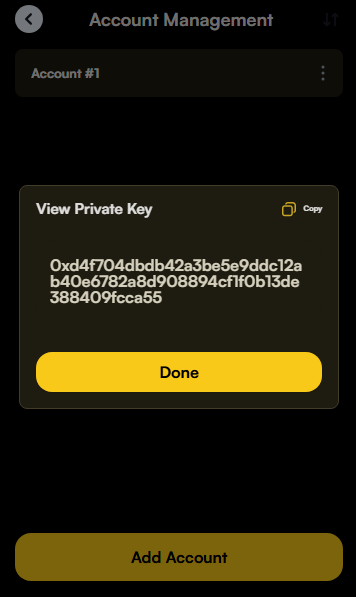
Step 1: Retrieve Private Key from Razor Wallet- Open the Razor Wallet extension.
- Access the settings by clicking the settings icon.
- Select “Wallet” to manage your account.
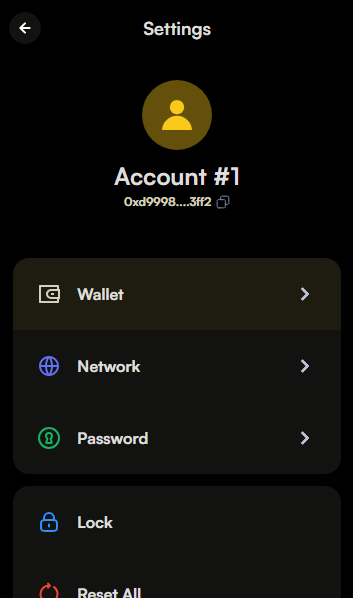
- Click “View private key” to reveal your private key.
- Enter your Razor Wallet password to view the private key.
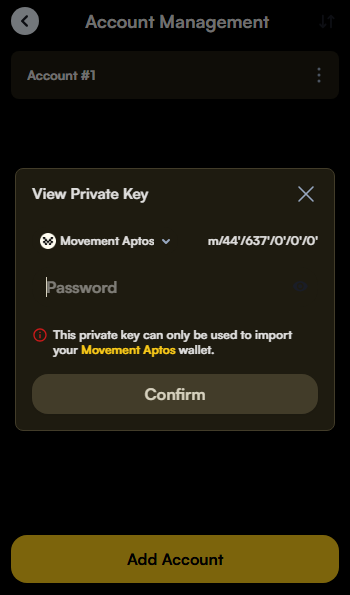
- Copy the private key displayed.